Your tenant buyer just said yes. Congratulations! Now hold off on the celebration for a minute.
An accepted offer isn’t the finish line. It’s the start of the stretch where small mistakes get expensive: a misspelled name on a recorded document, a payment amount that doesn’t add up, a property nobody insured, a move-in date nobody wrote down, or a payment system that never actually got set up.
Quick refresher: a contract for deed (also called an installment land contract, land contract, or agreement for deed, depending on your state) lets the buyer pay toward the purchase over time. Meanwhile, the seller generally keeps legal title until the contract is paid in full.
One caveat before we dive in. Contract-for-deed laws vary a lot from state to state, so have a real estate attorney who knows these deals in your property’s state review your documents and closing process.
With that said, here’s a practical checklist to get you from “yes” to “here are your keys” without anything slipping through the cracks.
1. Lock down the final deal terms
Before anyone drafts a single document, get every financial term in writing, in one place.
At a minimum, confirm:
- Property address
- Tenant buyer’s full legal name
- Seller’s legal name or entity
- Purchase price, down payment, and amount financed
- Interest rate, loan term, and amortization period
- Principal and interest payment
- Monthly tax and insurance amounts
- Total monthly payment and first payment date
- Late-payment terms
- Maintenance and repair responsibilities
- Prepayment terms and default provisions
- Possession date
If those details are scattered across a dozen emails and text threads, you’re asking for trouble. Pull everything into a single deal sheet, then send it to both the attorney drafting the documents and your third-party loan servicer. Everyone works from the same numbers.
2. Get the tenant buyer’s details exactly right
Find out precisely how the buyer’s name should appear on the documents before anything gets drafted.
Collect their:
- Full legal name
- Current address
- Phone number and email
- Government-issued ID
- Anything else your attorney or loan servicer needs
Buying as a couple? Decide up front whether both people will be parties to the agreement.
It sounds minor, but a single typo can turn into a real headache once documents are signed or recorded.
3. Make sure the title is clean and the seller is correct
The seller on the contract must match the owner on record, exactly. If ABC Investments LLC owns the property, the contract can’t just say “John Smith.”
Review:
- Current ownership and legal description
- Outstanding mortgages
- Recorded liens and judgments
- Unpaid property taxes
- HOA balances
- Any other title issues
Just bought the property? You may already have a fresh title commitment or policy. Don’t assume that means you can skip a new review. Ask your attorney or title professional what needs updating before you sign a new contract.
4. Have an attorney prepare the documents
Resist the urge to download a generic contract and swap in a few names.
State laws differ widely here. Yours may have specific rules on disclosures, recording, default procedures, foreclosure, cancellation rights, balloon payments, interest calculations, or consumer protections. A template won’t know any of that.
Depending on your state and deal, your closing package might include:
- Contract for deed
- Purchase agreement
- Seller disclosures
- Lead-based paint disclosure
- Payment or amortization schedule
- Insurance requirements and tax provisions
- Property-condition acknowledgment
- Memorandum of contract
- Loan servicing documents
Let an attorney experienced in seller-financed real estate decide which ones your deal actually needs.
5. Set up a third-party loan servicer
We strongly recommend running payments through a professional third-party loan servicer instead of collecting them yourself. Get it set up well before the first payment is due.
A servicer keeps an independent record of:
- Monthly payments received
- Principal and interest applied
- Remaining balance
- Late payments and late fees
- Tax and insurance amounts collected
- Full payment history
That’s cleaner for everyone. No more seller-maintained spreadsheets, no balance math on the back of an envelope, and no trying to reconstruct five years of payment history from bank statements.
Before closing, confirm the servicing account is live and that your tenant buyer knows:
- Where to send payments
- The exact monthly amount
- The due date
- Which payment methods are accepted
- What happens if a payment is late
- Who to call with questions
6. Roll taxes and insurance into the monthly payment
Rather than leaving property taxes and insurance as separate bills, build them into the buyer’s monthly payment.
Here’s how that might look:
| Item | Monthly amount |
|---|---|
| Principal and interest | $600 |
| Property taxes | $150 |
| Property insurance | $100 |
| Total monthly payment | $850 |
The buyer makes one payment to the servicer, and money for those big annual bills builds up all year long instead of catching someone off guard.
To get the numbers, start with the expected annual costs and divide by 12. For example, $1,800 in annual taxes works out to $150 a month, and a $1,200 insurance premium works out to $100 a month.
7. Keep the property insurance in the seller’s hands
Our preferred setup: the seller buys and pays for the property insurance, then builds that cost into the buyer’s monthly payment.
Why? Because you still have a lot riding on that property. The last thing you want is to find out months later that the buyer forgot to renew the policy, or let it lapse entirely. When you control the policy, you can always confirm the coverage is active.
Before closing:
- Put the right property insurance policy in place
- Verify the effective date
- Confirm coverage with your insurance agent
- Get the annual premium
- Calculate the monthly amount
- Add it to the monthly payment
And be fully transparent with the buyer about exactly what their payment covers.
8. Require renter’s insurance
Property insurance and renter’s insurance do different jobs.
Your property policy generally isn’t meant to cover the buyer’s furniture, electronics, clothing, or other belongings. So require the tenant buyer to carry renter’s insurance for their personal property and personal liability.
Get proof of coverage before they move in, keep it in your transaction file, and set up a way to track renewals if that makes sense for your deal.
9. Confirm the down payment has actually cleared
A signed contract doesn’t mean you’re ready to hand over possession.
Before the keys change hands, confirm the full down payment and any other closing funds have actually landed in your account. Then document it. Your file should show:
- The required down payment
- The amount received
- The date received
- The payment method
- Any balance still owed
10. Sign and notarize
Give the closing package one last careful read before anyone signs. Double-check that these are all correct:
- Names
- Property address and legal description
- Purchase price and down payment
- Interest rate
- Principal and interest payment
- Tax and insurance calculations
- Total monthly payment
- First payment date
- Possession date (clearly stated)
Make sure every required signature and notarization is done, and give the tenant buyer copies of everything they sign.
11. Record the right documents
Find out which documents need to be recorded with the county recorder, or should be. This varies by state. Some deals record the full contract; others record a memorandum or a different document.
Confirm the recording actually happened. Save the recorded copy in your permanent file.
12. Run through a possession checklist
Before handing over the keys, document the property’s condition with photos or video of:
- Every interior room
- The exterior
- Appliances
- HVAC system
- Electrical panel
- Plumbing fixtures
- Any existing damage
- Other major components
Then hand over the keys, garage remotes, alarm codes, utility information, and any property instructions. Write down the exact date possession begins.
13. Build a permanent transaction file
Once you’ve closed, keep everything together in one organized file:
- Purchase agreement and contract for deed
- Recorded documents
- Buyer’s ID
- Down payment receipt
- Amortization schedule
- Property insurance policy
- Renter’s insurance verification
- Tax information
- Loan servicing agreement and payment instructions
- Property disclosures
- Property-condition photos and notes
- Attorney correspondence
- Title documents
- Closing statement
A contract for deed can run for decades. You won’t remember the details of this closing five or ten years from now, so let the file remember for you.
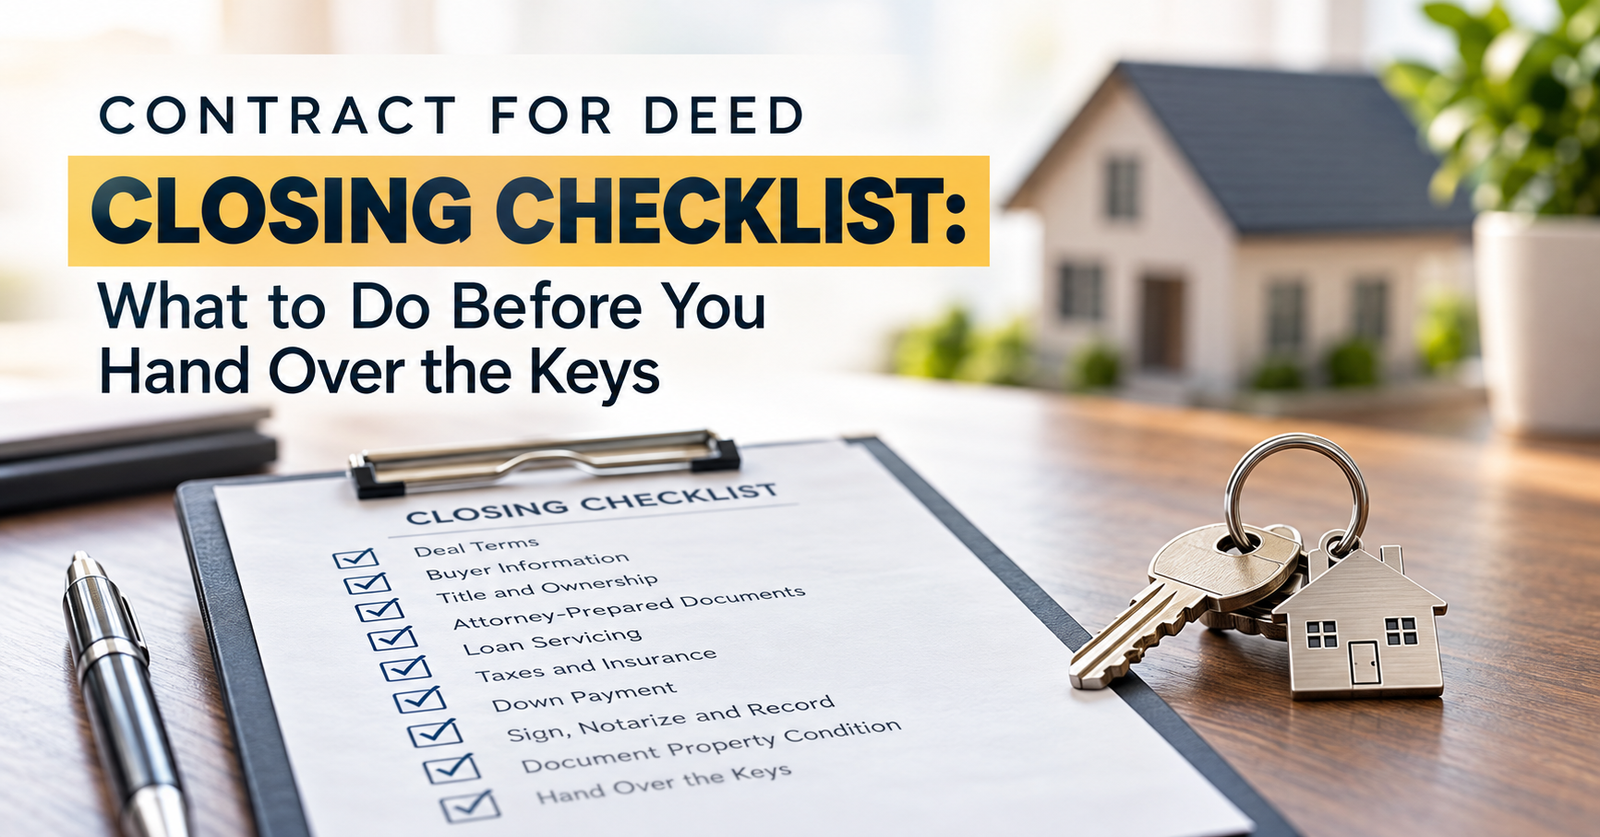
The “Don’t Hand Over the Keys Until…” Checklist
Before possession, make sure you can check off every one of these:
☐ Final deal terms are documented
☐ Tenant buyer information is verified
☐ Title has been reviewed
☐ Attorney-prepared documents are complete
☐ Documents are signed and notarized
☐ Down payment has cleared
☐ Seller’s property insurance is active
☐ Property insurance cost is built into the monthly payment
☐ Property taxes are built into the monthly payment
☐ Tenant buyer has provided proof of renter’s insurance
☐ Third-party loan servicing is set up
☐ Total monthly payment is confirmed
☐ First payment date is documented
☐ Required documents have been submitted for recording
☐ Property condition has been documented
☐ Tenant buyer has copies of the agreement
Then, and only then, hand over the keys.
A Good Closing Should Be Boring
Seriously. Boring is the goal.
No scrambling to insure the property after the buyer has already moved in. No confusion about whether taxes are included in the payment. No guessing where payments go. And no seller squinting at bank statements three years from now trying to figure out the principal balance.
The recipe is simple: get the systems in place before possession. Use properly prepared legal documents. Run payments through a professional loan servicer. Build taxes and seller-controlled insurance into the monthly payment. Require renter’s insurance. Document the property’s condition. Keep complete records.
The work you put in before handing over the keys is what makes the next 30 years of this deal easy to manage.
Ready to Close Your Next Contract for Deed the Right Way?
A great contract-for-deed deal isn’t just about finding the right tenant buyer. It’s about making sure every piece of the transaction is in place before possession changes hands.
And juggling attorneys, title work, insurance, loan servicing, payment setup, documents, signatures, recording, and move-in on your own? That’s how things get missed.
That’s where a transaction coordinator comes in.
Turnkey TC Solutions helps real estate investors move contract-for-deed deals from accepted buyer to closing. We track the details, coordinate everyone involved, and make sure the right pieces are in place before the keys change hands.
Have a contract-for-deed deal in the works? Contact Turnkey TC Solutions, and let’s get it organized and across the finish line.
Leave a Reply